An SSH key it’s like a door key that lets you enter the Google Cloud server safely.
It has two parts:
- Public key → You will copy this into Google Cloud.
- Private key → Stays in your computer. Never share it.
If you have:
- Mac or Linux → open Terminal
- Windows → open PowerShell or use Git Bash (recommended)
Where:
- aidl2026 is the name of the key (this is the name recommended).
- «your_username» can be anything, for example: «cat»
Press ENTER when the terminal asks questions (default options are fine).
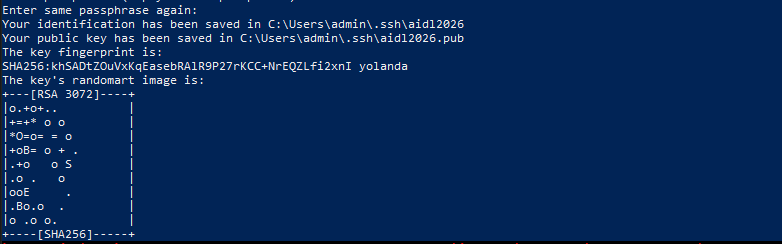
This creates two files:
- aidl2026 : your private key
- aidl2026.pub : your public key
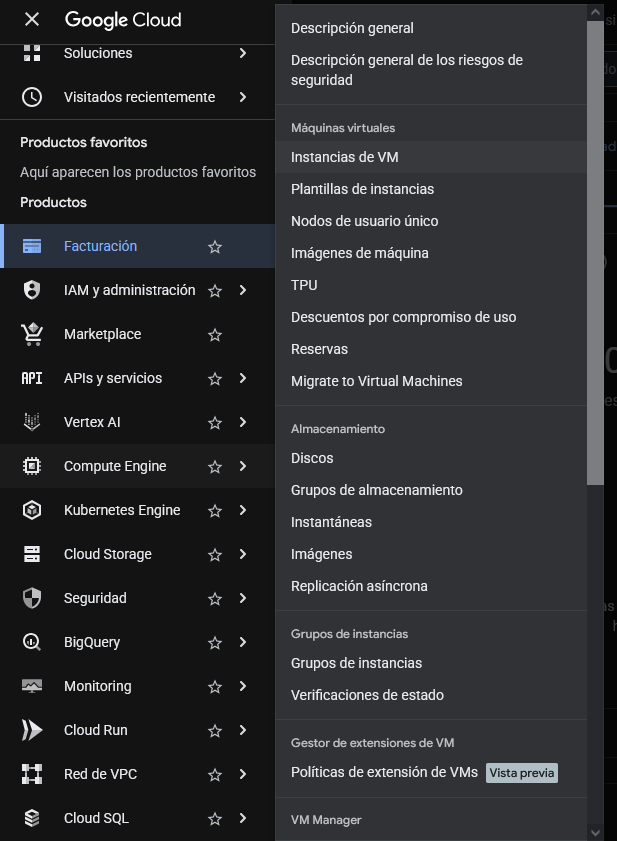
- Open https://console.cloud.google.com/ and sign in.
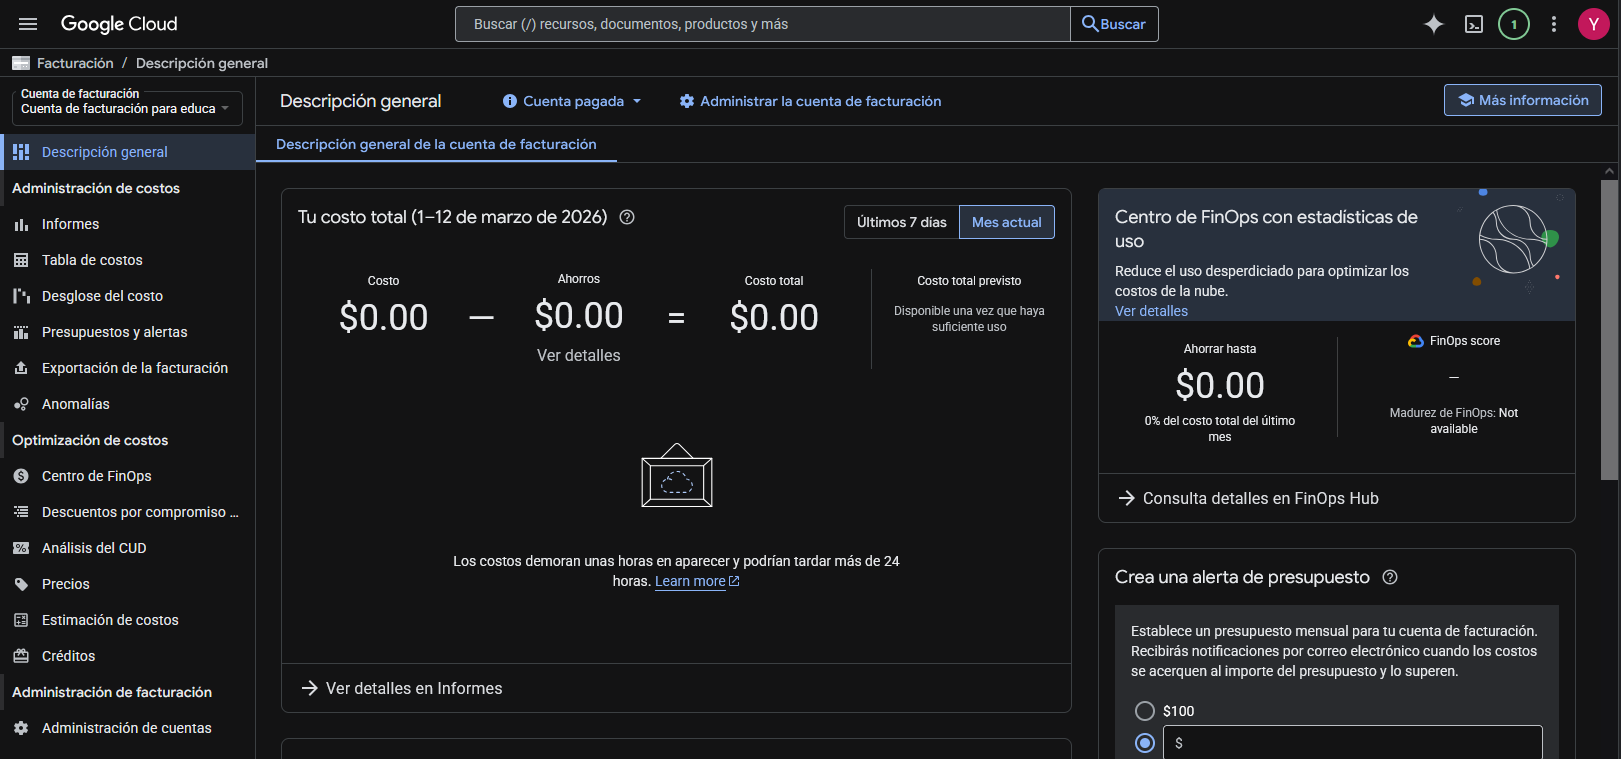
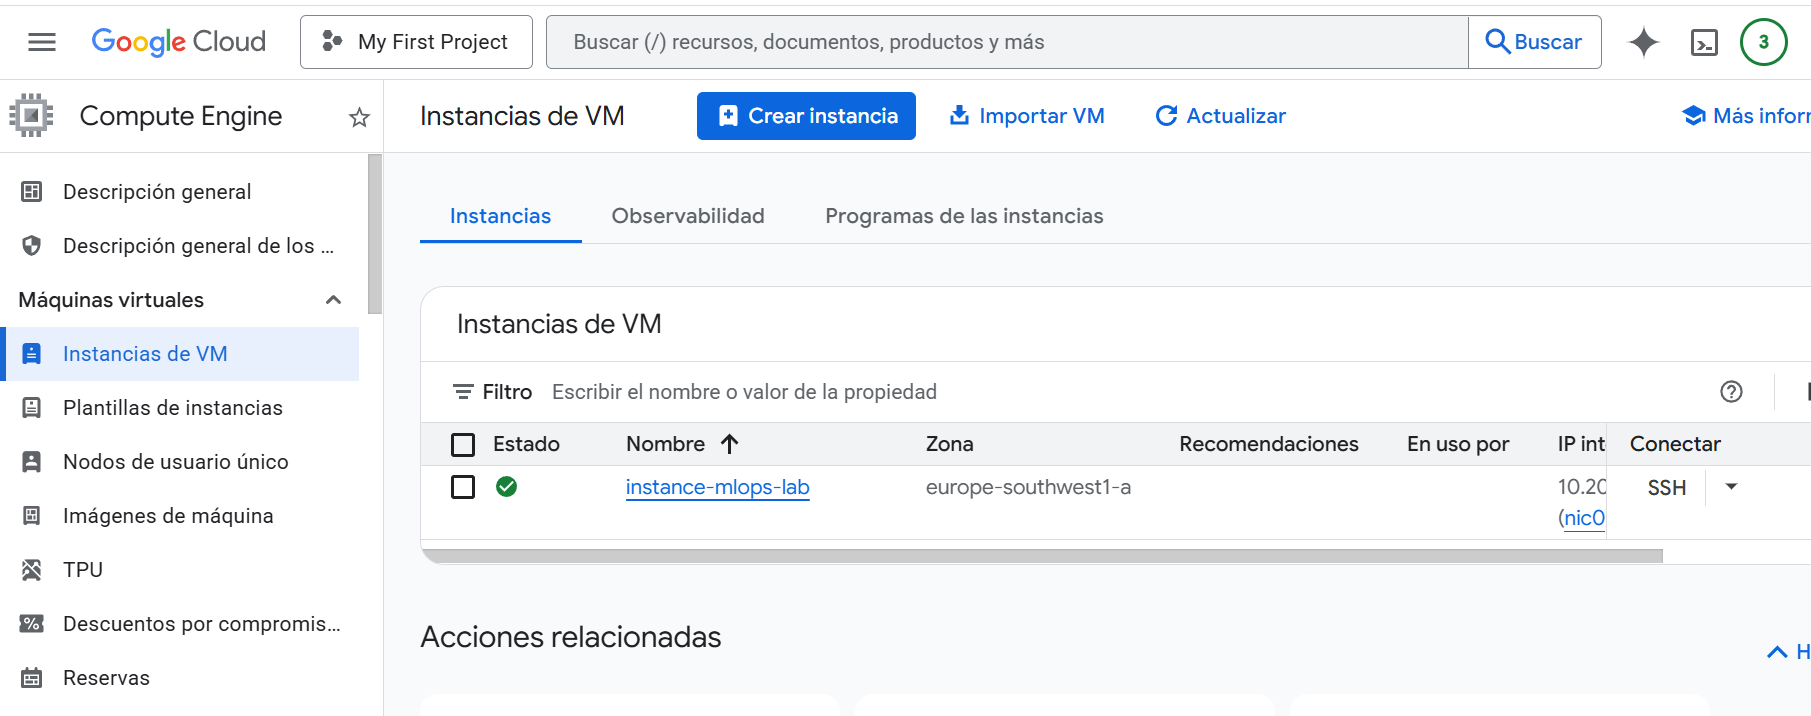
- Go to Compute Engine → VM instances.
Add keys to VMs that use OS Login
In the following link you can see the Google instruccions to add the keys:
https://docs.cloud.google.com/compute/docs/connect/add-ssh-keys
How to Add Your SSH Public Key to a Google Cloud VM
When creating a Virtual Machine (VM) in Google Cloud, you often need to add your own SSH public key so you can connect securely from your computer. Here is a simple step‑by‑step explanation of how to do it, assuming you already generated an SSH key pair on your local machine, as explained previously.
- Open your public SSH key on your computer
Your public key is stored in a file that ends with .pub.
For example, on Windows you can open it using PowerShell:
notepad $env:USERPROFILE\.ssh\aidl2026.pub
A Notepad window will open showing a long line that starts with:

Add the key to the VM configuration in Google Cloud
When creating your VM:
- Scroll down and click “Management, security, disks, networking, sole tenancy” (advanced settings).
- Open the Security tab.
- Look for the section called SSH Keys.
- Click “Add item”.
- Paste your entire public key into the box.
Google Cloud will automatically install this key on your VM when it is created.

Create the VM
Click Create and wait a few seconds for the VM to become RUNNING.
Connect to the VM using your private key
Once the VM is running, copy its External IP and run this command from your PowerShell terminal:
ssh -i $env:USERPROFILE\.ssh\aidl2026 your_username@<EXTERNAL_IP>


Connecting to a Google Cloud VM Using Your SSH Key (After Adding the Key)
Once you have pasted your SSH public key into the SSH Keys section of your Google Cloud VM configuration, you are ready to connect to the machine from your local computer. The steps below describe the full process and what to expect during your first connection.
- Retrieve the External IP Address of the VM
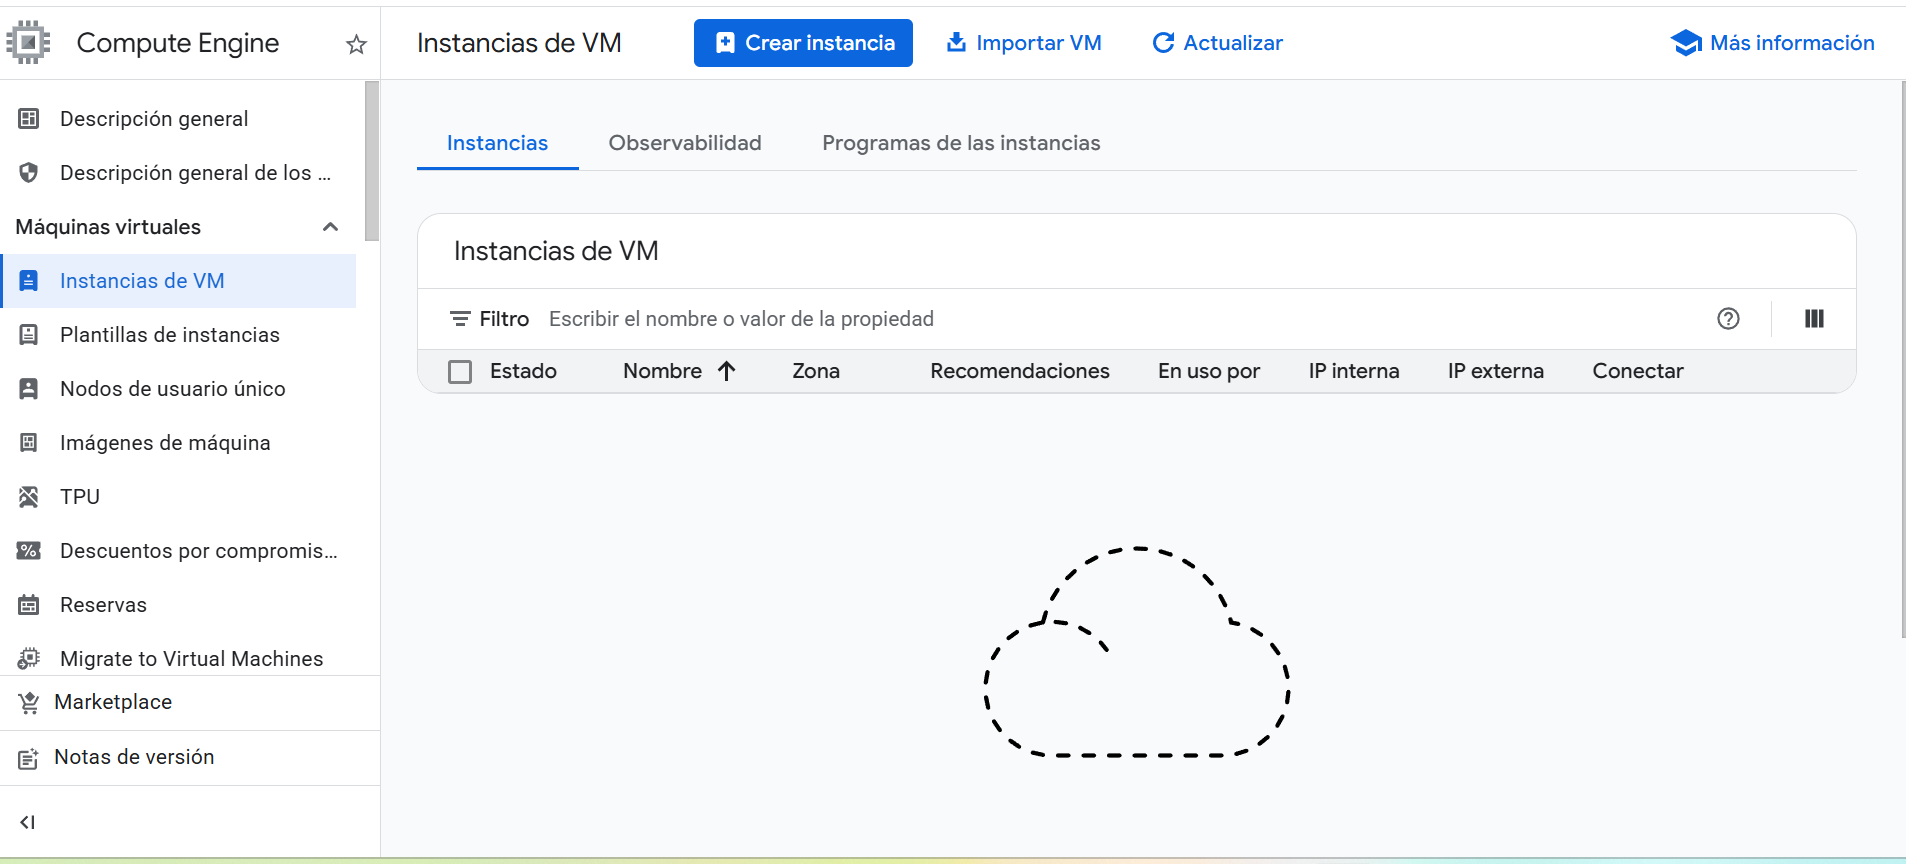
After the VM is created, open:
Google Cloud Console : Compute Engine : VM Instances
You will see a column named External IP.
This is the address you will use to connect to the server from your computer.
Example:
34.175.3.72
- Connect to the VM from your local machine
Open PowerShell (on Windows) and run the following command:
ssh -i $env:USERPROFILE\.ssh\aidl2026 <username>@<EXTERNAL_IP>
Replace:
- <username> with the username you embedded in your SSH public key (the text after the key, e.g., yolanda)
- <EXTERNAL_IP> with the actual external IP of your VM
Example:
ssh -i $env:USERPROFILE\.ssh\aidl2026 yolanda@IPNUMBER
- Accept the host authenticity prompt
During the first connection, SSH will display a message like:
The authenticity of host ‘IPNUMBER’ can’t be established. Are you sure you want to continue connecting (yes/no/[fingerprint])?
This is completely normal.
Type:
yes
and press Enter.
SSH will then store the server’s fingerprint on your machine.
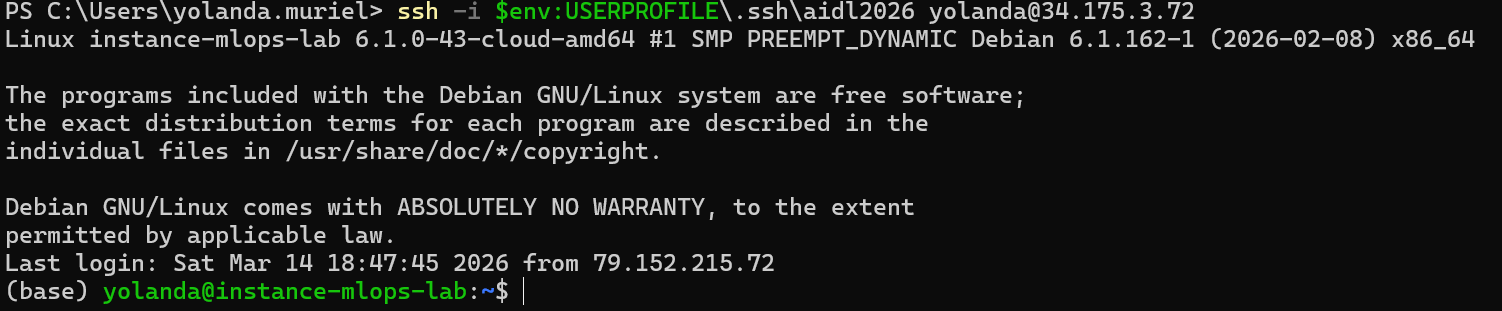
- Successful connection
If your SSH key is installed correctly and the VM is running, you will be logged into the server and see a prompt like this:
yolanda@instance-mlops-lab:~$
At this point, you are fully connected to your Google Cloud Virtual Machine over SSH.
You can now execute commands inside the remote Linux environment, install tools, transfer files, configure environments, or continue with any cloud computing or MLOps tasks.
This marks the completion of the secure remote access setup.
you are already inside your Google Cloud VM, with the prompt:
yolanda@instance-mlops-lab:~$
Install Miniconda on the Remote VM
You are now inside a Debian Linux VM.
Run the following commands inside the VM terminal (not in PowerShell).
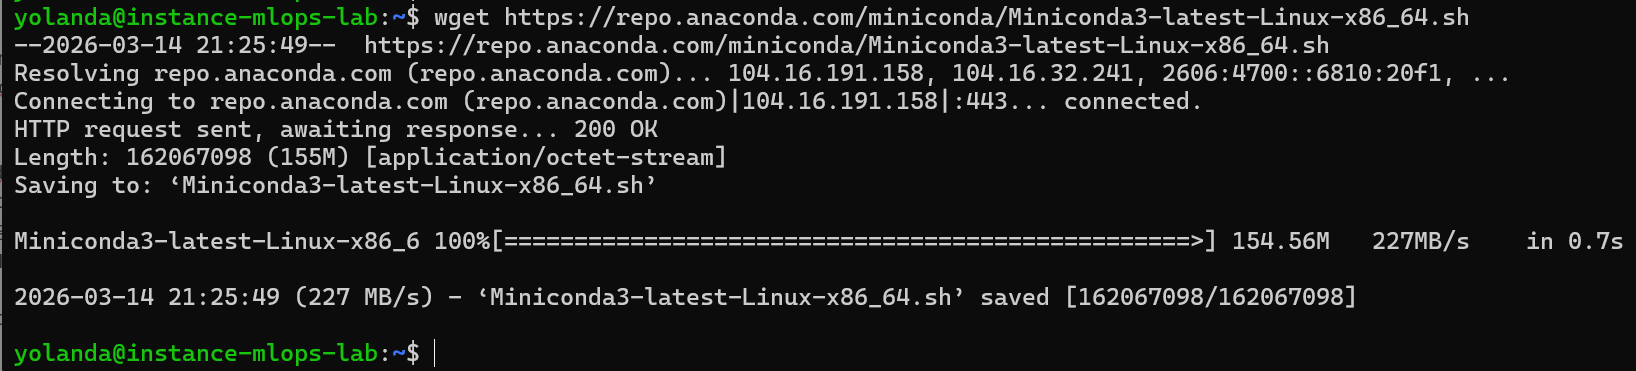
- Download the Miniconda installer
wget https://repo.anaconda.com/miniconda/Miniconda3-latest-Linux-x86_64.sh
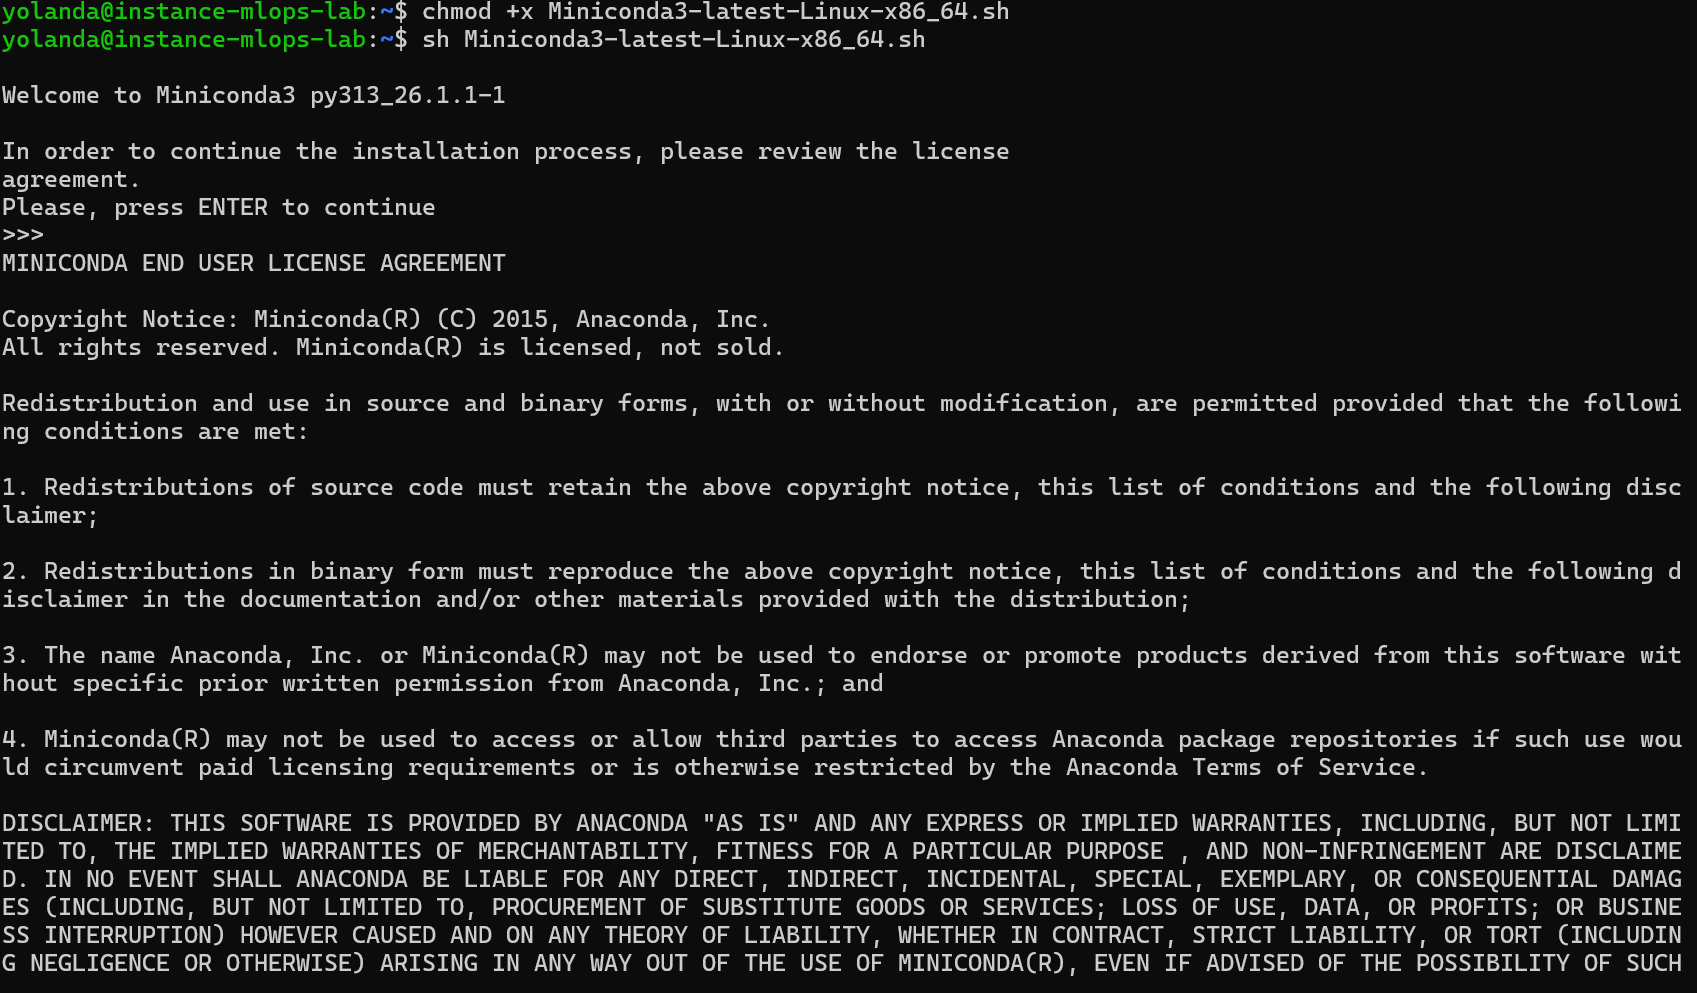
- Make the installer executable
chmod +x Miniconda3-latest-Linux-x86_64.sh

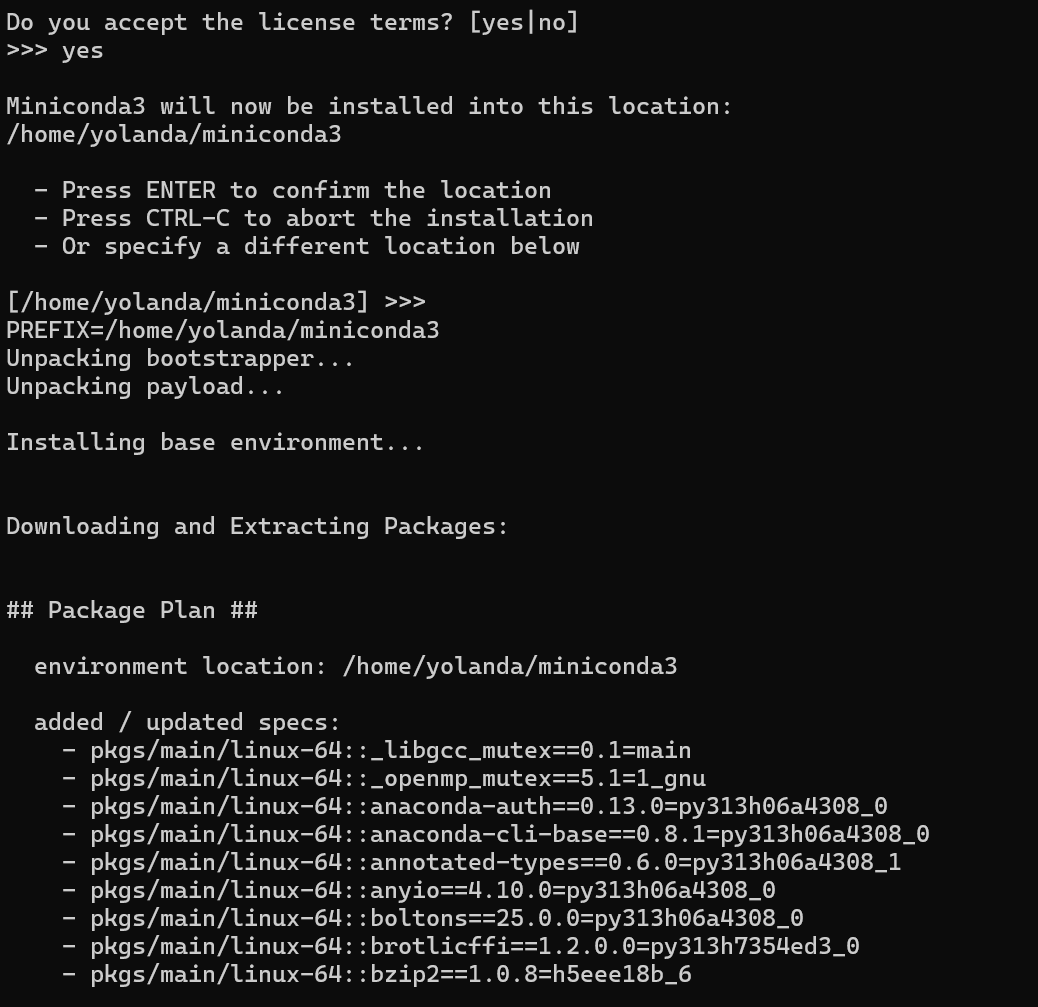
- Run the installer
sh Miniconda3-latest-Linux-x86_64.sh
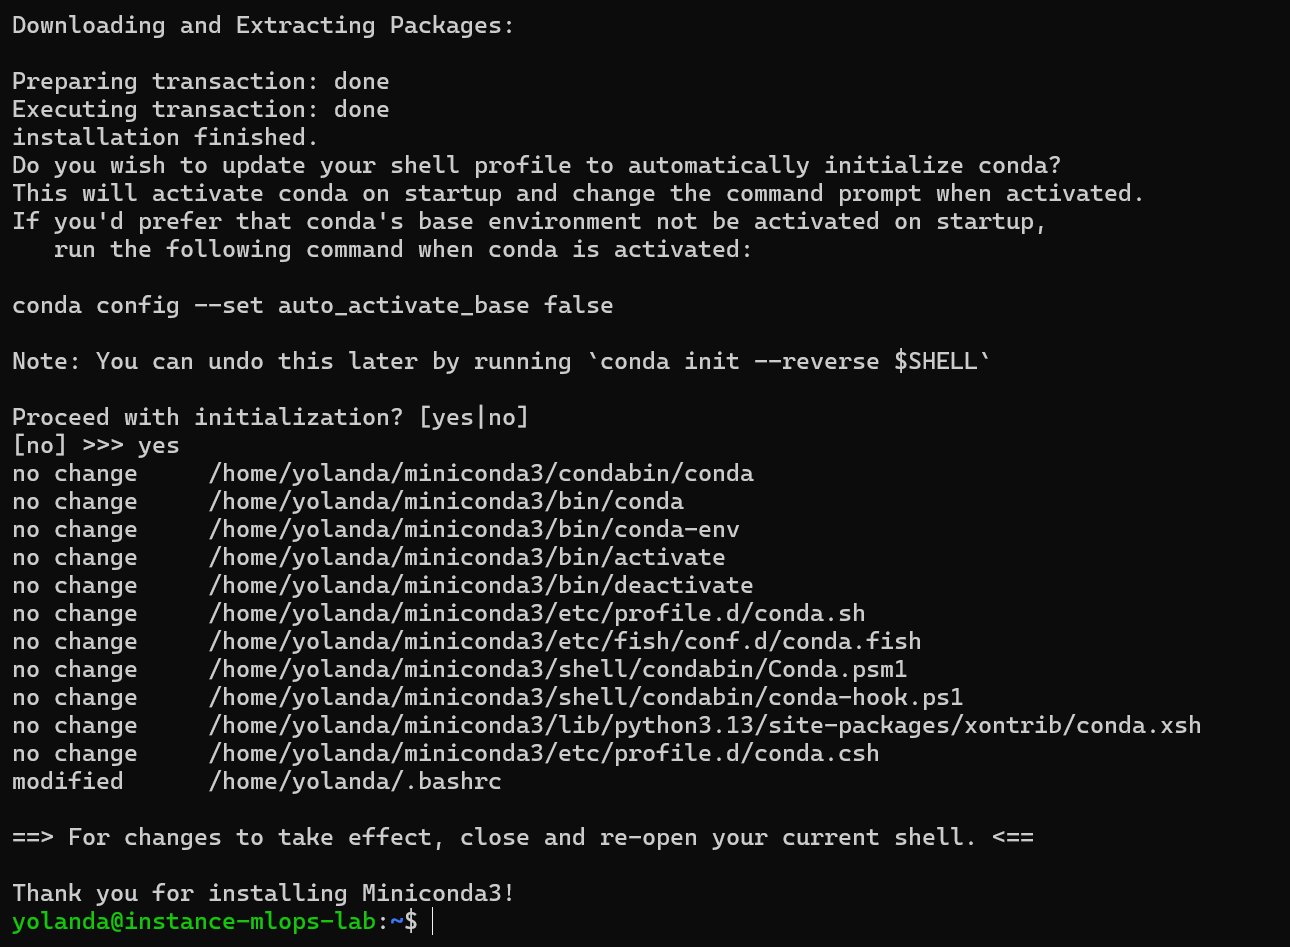
- Reload your shell
After installation finishes, run:
source ~/.bashrc

Create a new conda environment for the lab
The lab recommends creating a clean environment.
You can create it like this:
conda create -n mlops python=3.10 -y
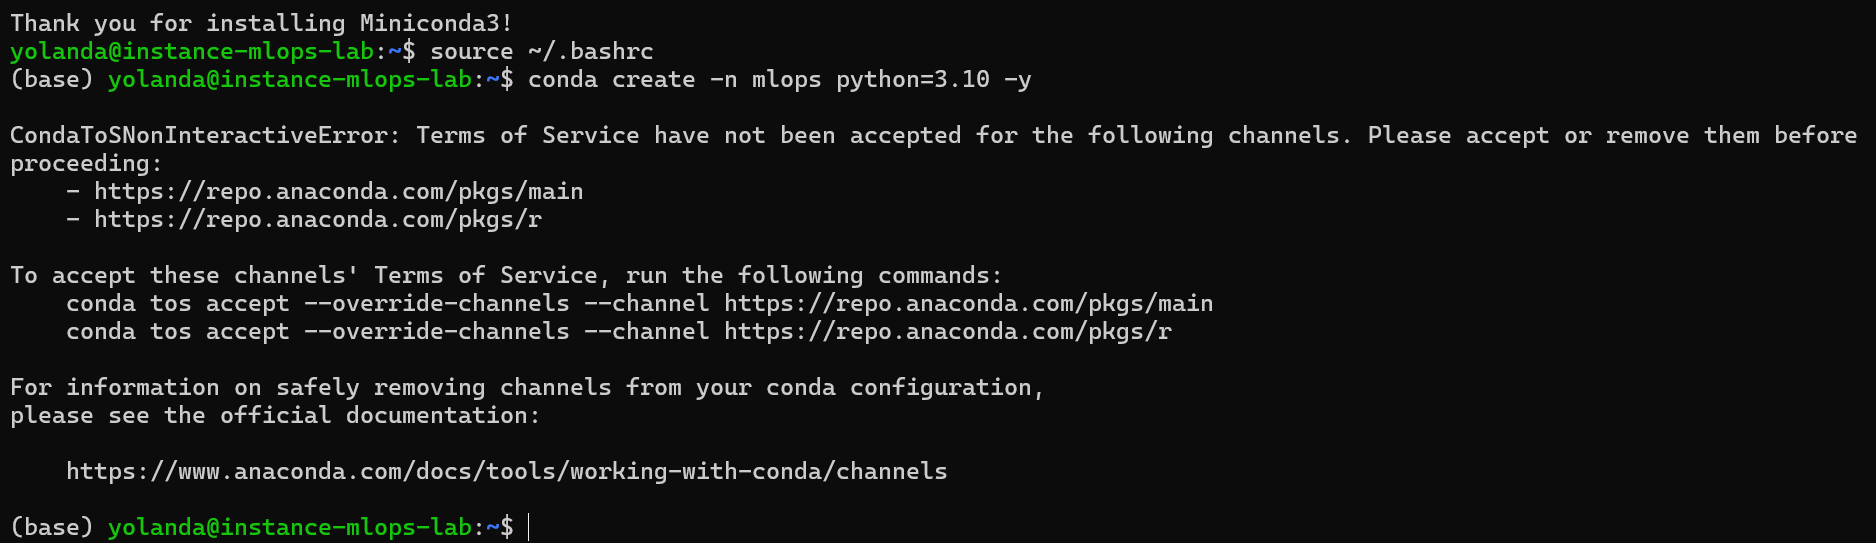
CondaTSNonInteractiveError: Terms of Service have not been accepted…
This is a very recent change in Conda/Anaconda:
you must accept the Terms of Service (TOS) for the official repo.anaconda.com channels before creating an environment.
Accept Conda Terms of Service
Run these two commands inside your VM:
conda tos accept –override-channels –channel https://repo.anaconda.com/pkgs/main
conda tos accept –override-channels –channel https://repo.anaconda.com/pkgs/r

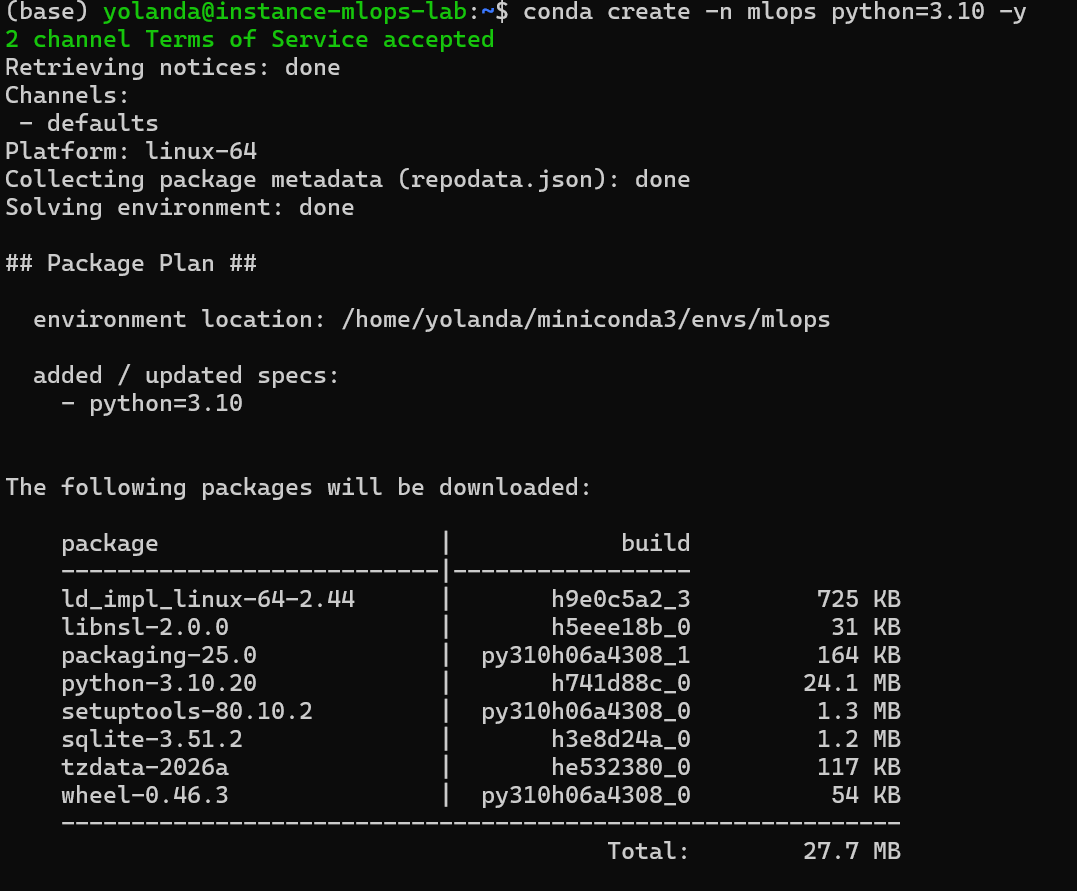
Create your environment again
Now repeat:
conda create -n mlops python=3.10 -y
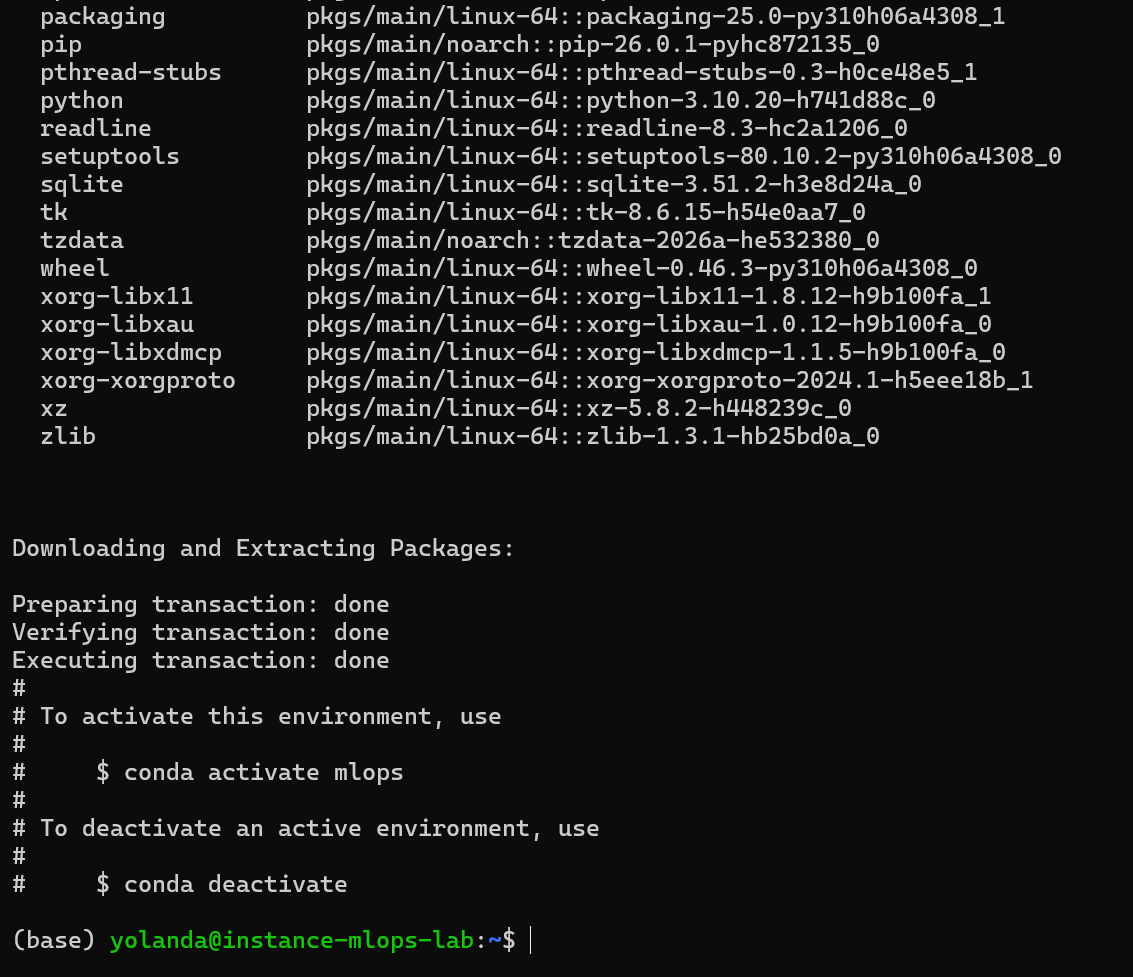
Activate the Environment
Once the environment is created, activate it:
conda activate mlops
Your prompt should now change to:
(mlops) yolanda@instance-mlops-lab:~$

This means the environment is active and ready.
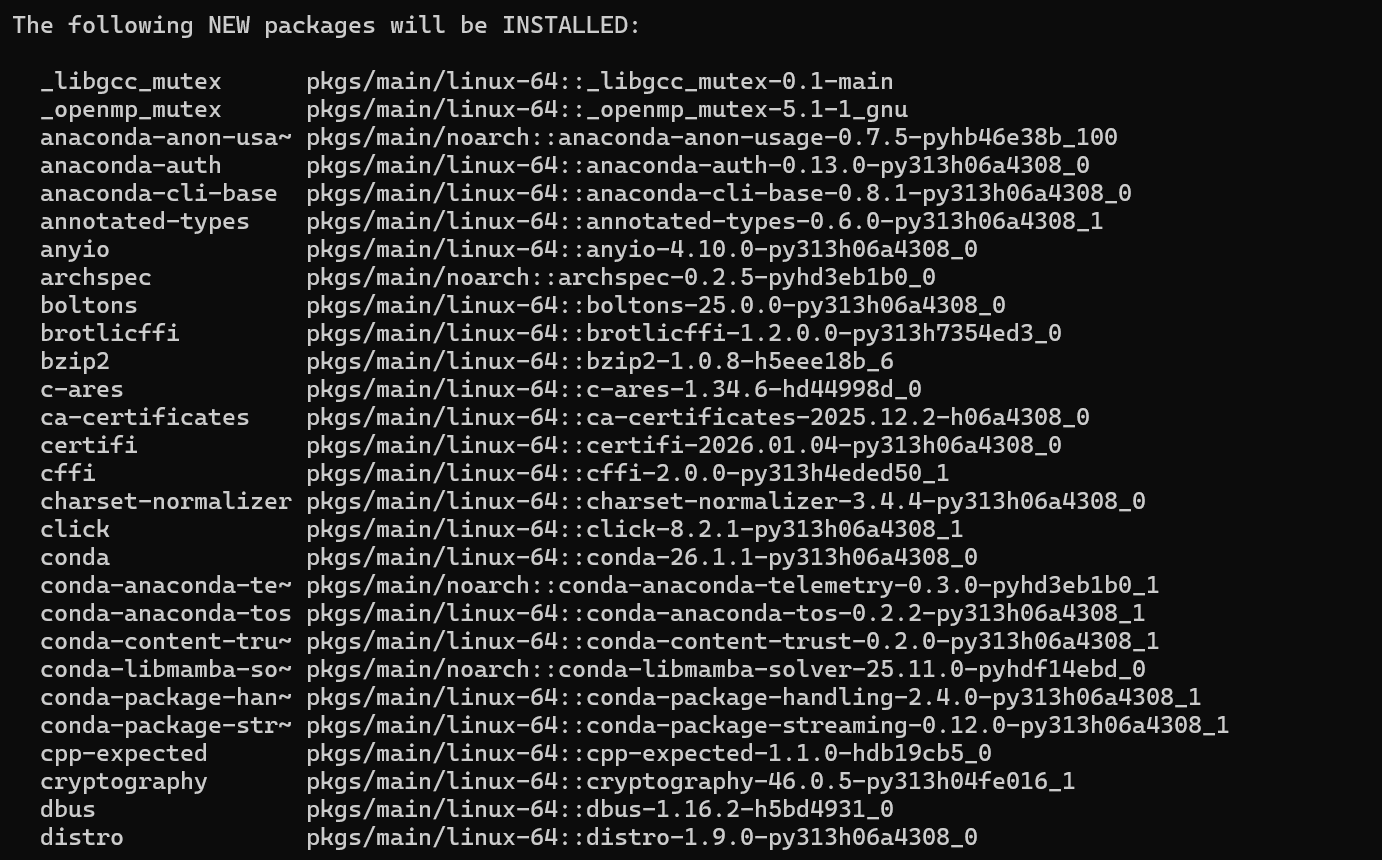
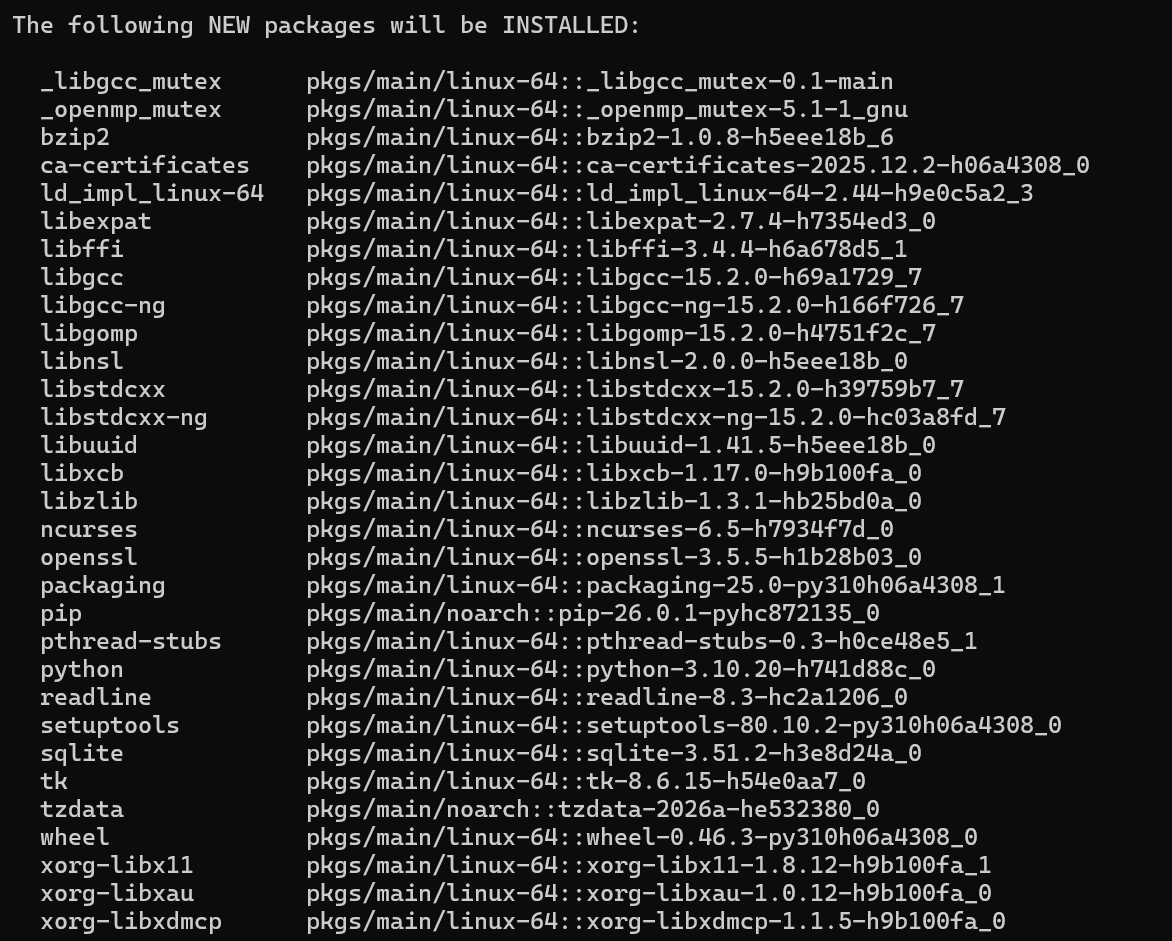
This means:
- Miniconda is installed
- The environment mlops exists
- The environment is active
Install the correct PyTorch (CPU‑only)
pip install torch torchvision –index-url https://download.pytorch.org/whl/cpu

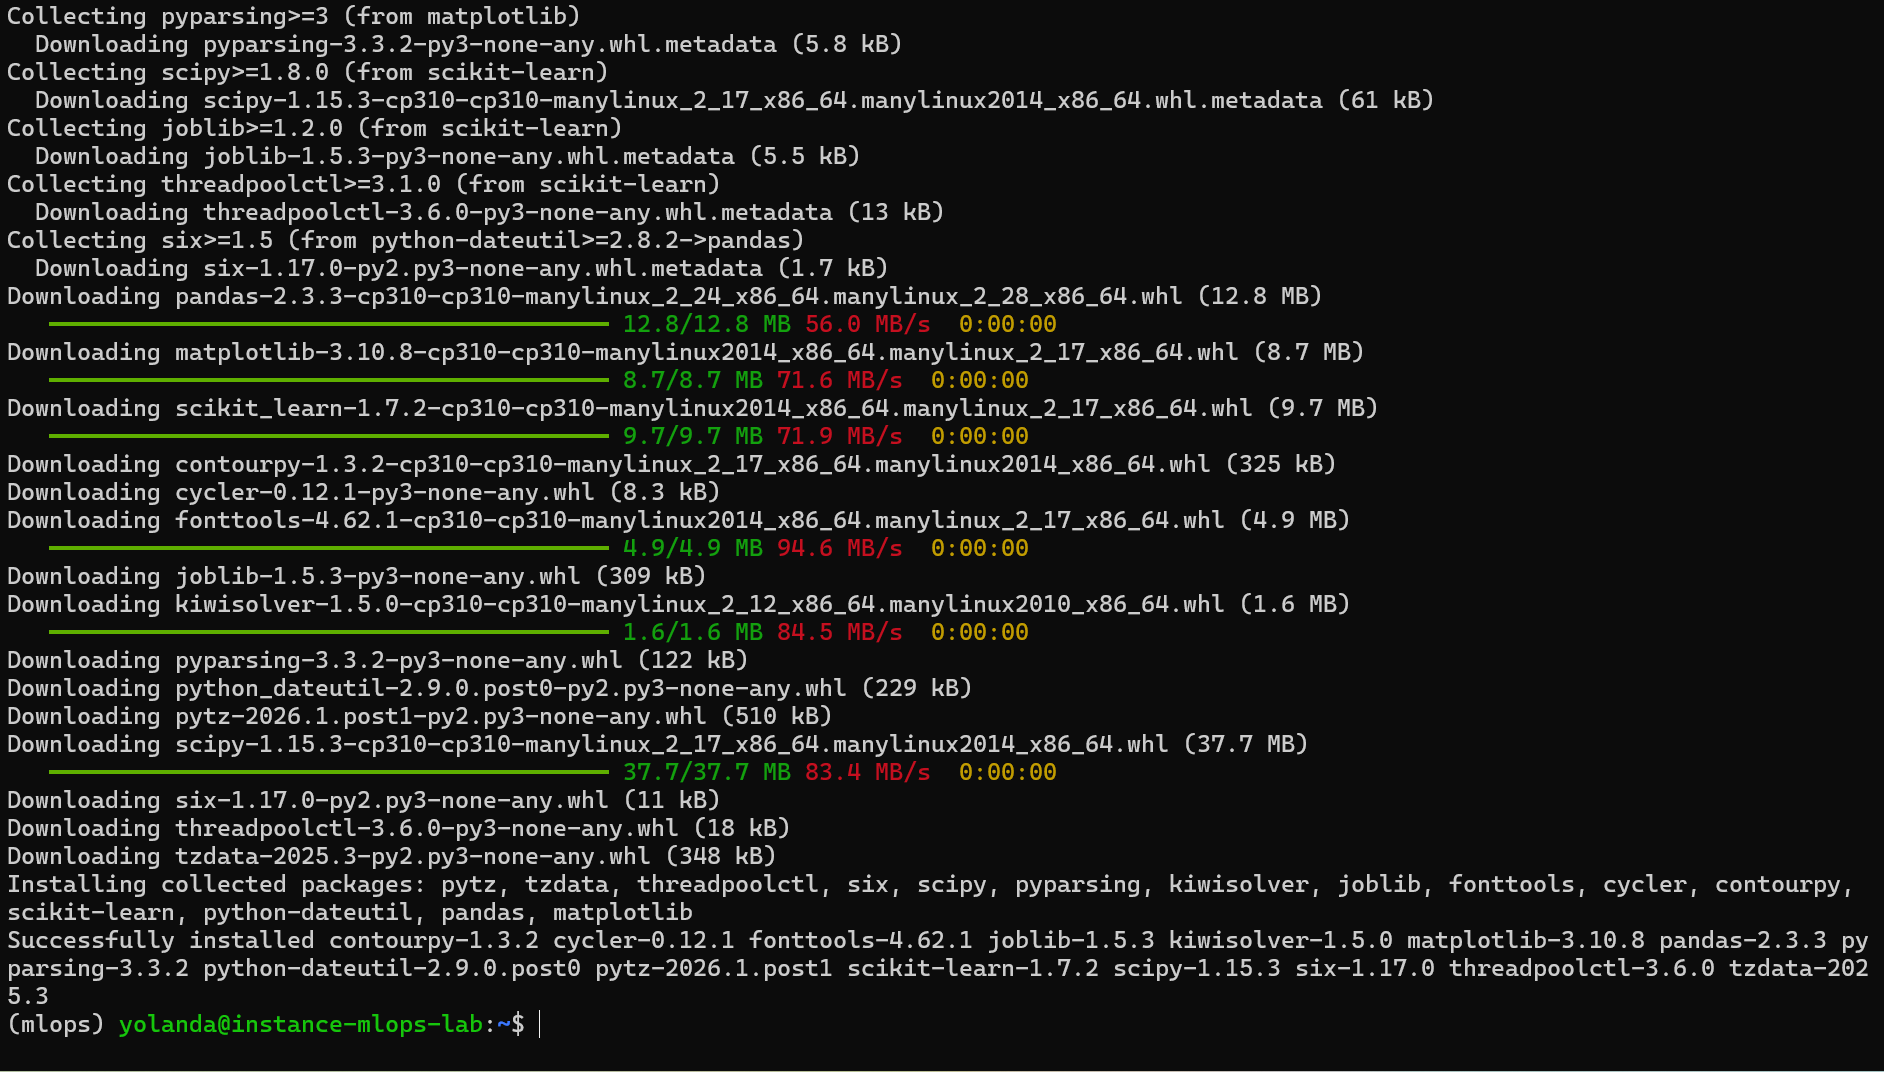
Then install the rest:
pip install numpy pandas matplotlib scikit-learn
Move Your Dataset and Code to the VM. Moving the code and the dataset to the server.
Let’s do this step now.
From your local Windows machine, upload your project files into the VM
Open PowerShell on your Windows computer (NOT inside SSH).
- You must upload the folder that contains the images you downloaded (cars vs flowers)
- You must upload the Python files you are going to run (training script, dataset loader, etc.)
These files must be copied from your computer : into the VM.
How to Upload Your Dataset Folder to the VM
Goal:
Copy the folder cars_vs_flowers (located on your Windows Desktop) into your Google Cloud VM.
To do this, you must use the scp command from your local computer, not from inside the VM.
Follow these steps carefully:
Exit the VM (if you are inside SSH)
If your terminal shows something like this:
(mlops) yolanda@instance-mlops-lab:~$
you are inside the VM.
Type:
exit
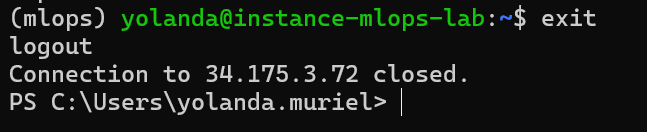
This means you are back on your Windows machine, which is where scp must run.
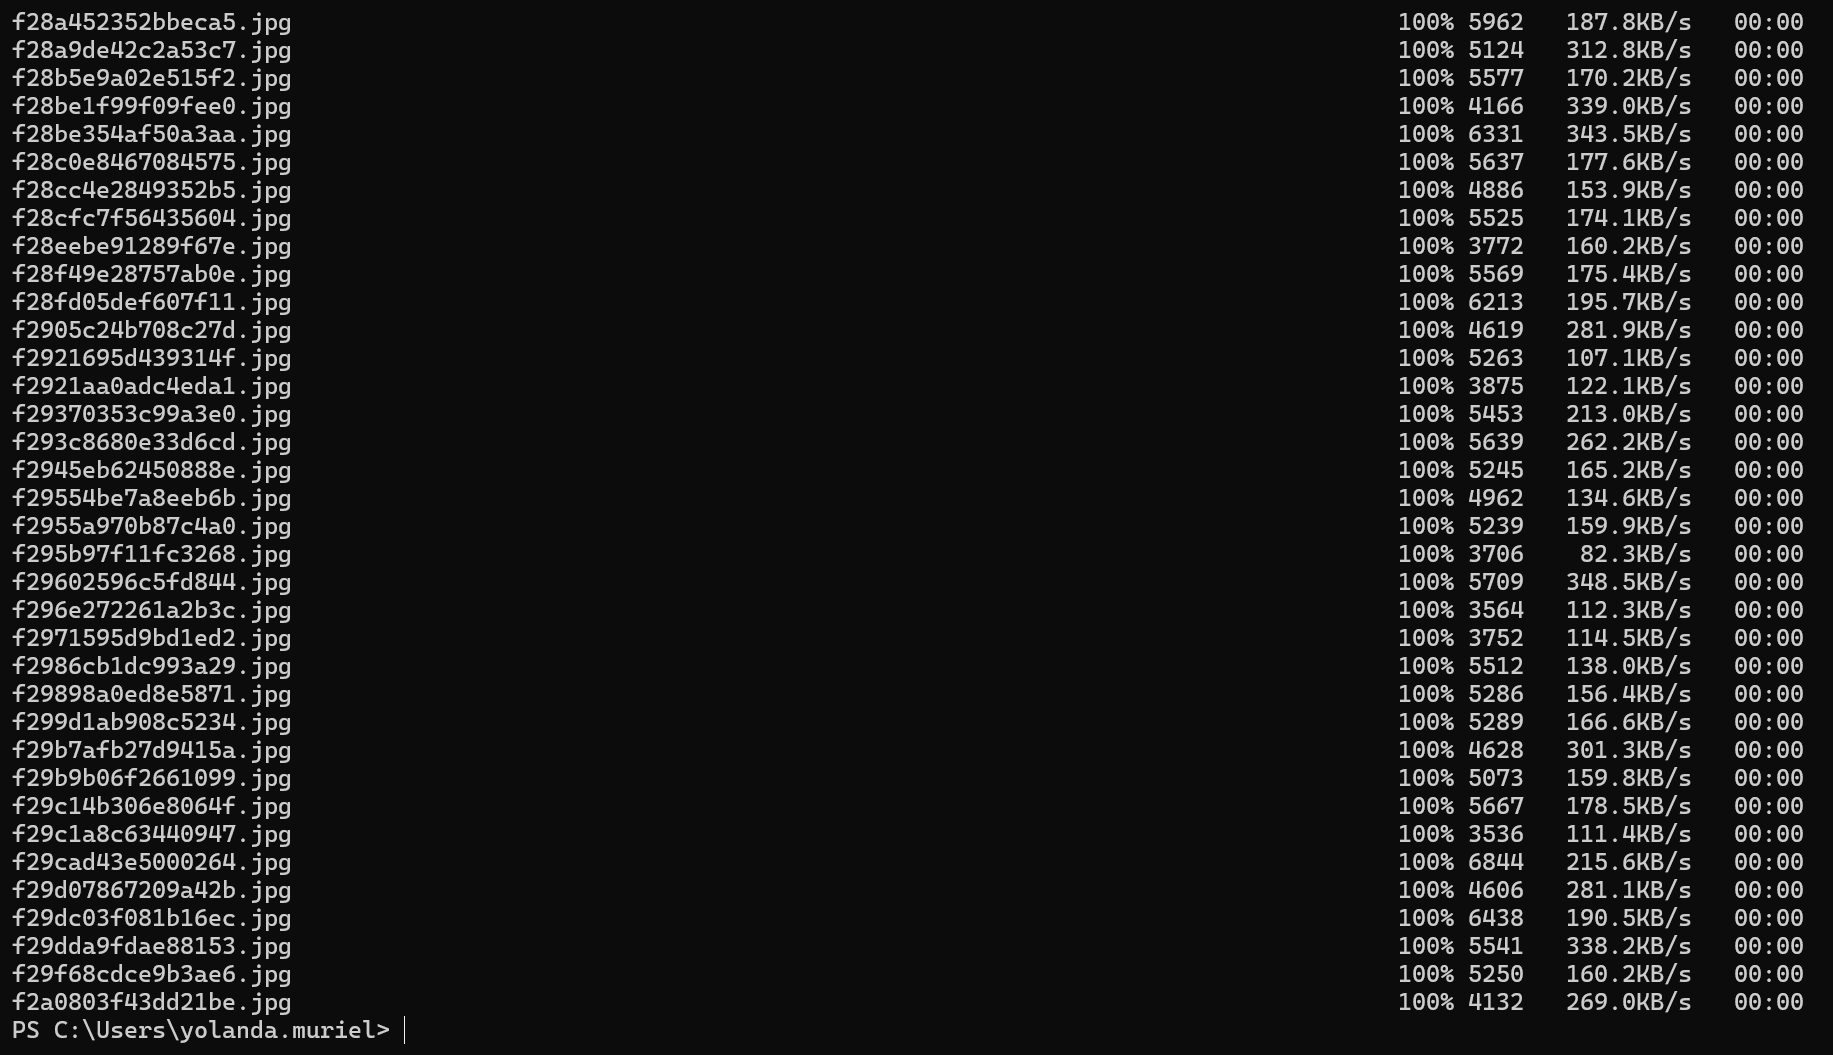
Upload the folder from Windows using SCP
Now, from PowerShell on your Windows PC (NOT inside SSH), run:
scp -i $env:USERPROFILE\.ssh\aidl2026 -r «C:\Users\yolanda.muriel\Desktop\cars_vs_flowers» yolanda@IPnumber:~
This is the version that includes:
- -i → identity file (your private key)
- full path to the folder
- your username
- your VM IP
This is EXACTLY like your SSH command — just with scp.
To upload a folder:
scp -r «C:\Users\yolanda.muriel\Desktop\cars_vs_flowers» yolanda@IPNUMBER2:~
Why it works
Your SSH login uses:
ssh -i $env:USERPROFILE\.ssh\aidl2026 yolanda@IPNUMBER
So SCP must also include -i : same key.
Without the key:
- SCP tries to log in with a password
- your VM does not allow passwords
- result: Permission denied (publickey)
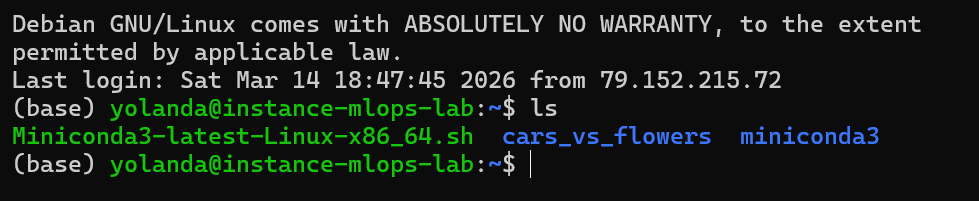
Confirm the dataset is inside the VM
Now that the upload succeeded, connect back to your VM:
ssh -i $env:USERPROFILE\.ssh\aidl2026 yolanda@NUMBERIP
Then, inside the VM:
ls
Open or edit the project remotely
- Option A — Continue working directly inside the SSH terminal, or
- Option B — Use VSCode Remote SSH (recommended)
Using VSCode Remote SSH to Work on the VM (Recommended)
The easiest way to edit your code on the remote VM is by using Visual Studio Code with the Remote – SSH extension. This allows you to open files, edit Python scripts, run training code, and manage your project as if it were on your own computer.
- Install the Remote SSH extension in VSCode
- Open Visual Studio Code
- Go to Extensions
- Search for: Remote – SSH
- Click Install
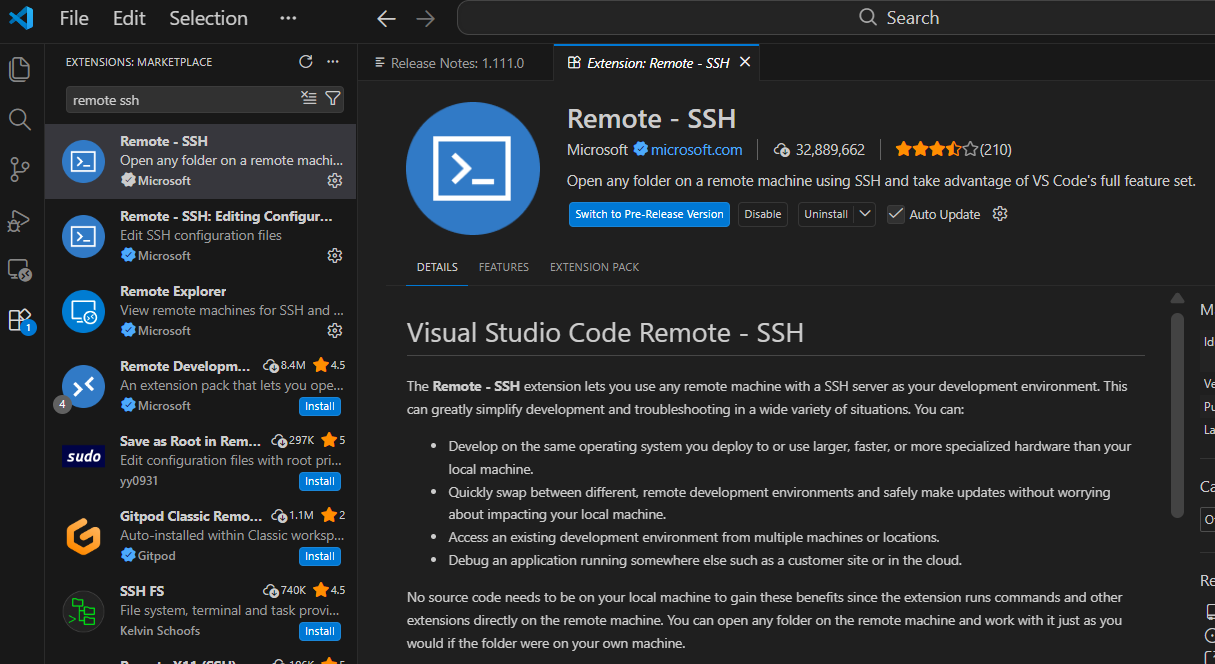
REMOTE‑SSH EXTENSION IS INSTALLED SUCCESSFULLY. The next step is connecting your VS Code to your Google Cloud VM.
STEP 1 — Add your VM as an SSH host in VS Code
Open VS Code.
CTRL + SHIFT + P
Once open Command Palette, type:
Remote-SSH: Add New SSH Host
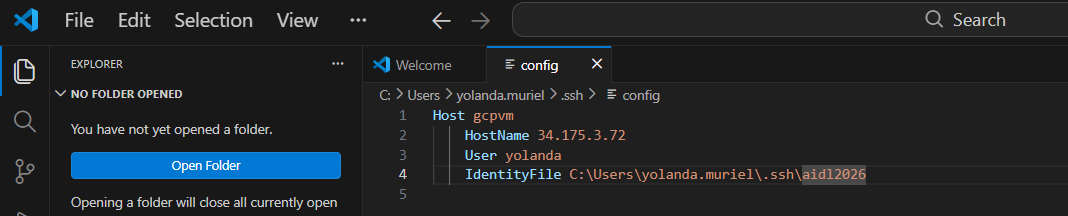
Paste the line:
ssh -i C:\Users\yolanda.muriel\.ssh\aidl2026 yolanda@IPNUMBER

Then VS Code asks:
Where do you want to save the SSH configuration?
Choose:
C:\Users\yolanda.muriel\.ssh\config
(or whichever config it offers inside your .ssh folder)
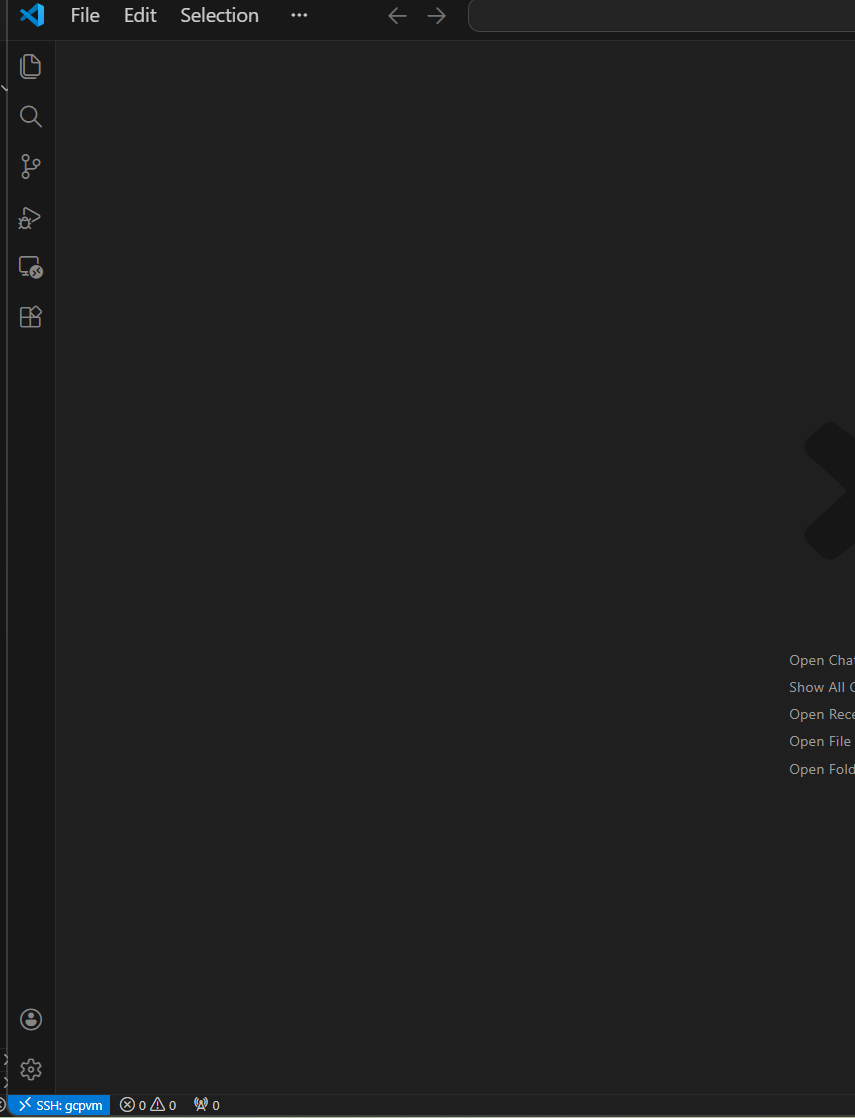
STEP 2 — Connect to the VM
Remote-SSH: Connect to Host…
Choose:
![]()
You can also host a different or customized .ssh:
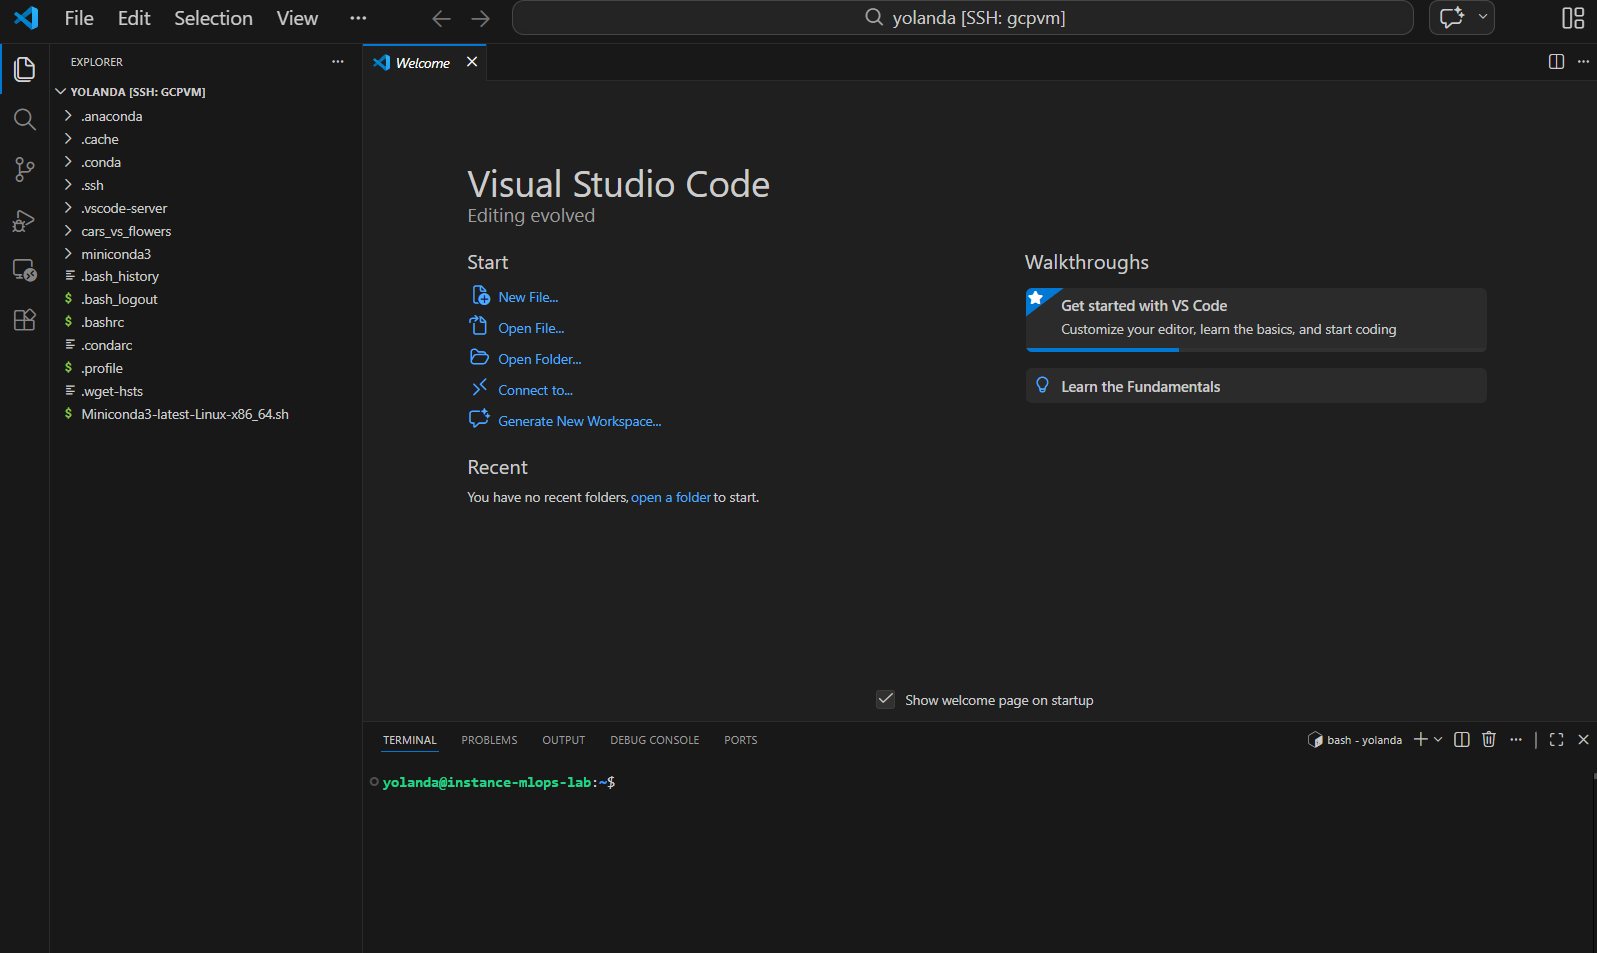
VS Code will now:
- open a NEW WINDOW
- install the VS Code server on your VM
- connect your editor directly to /home/yolanda/ on the VM
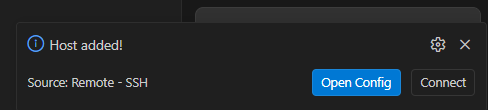
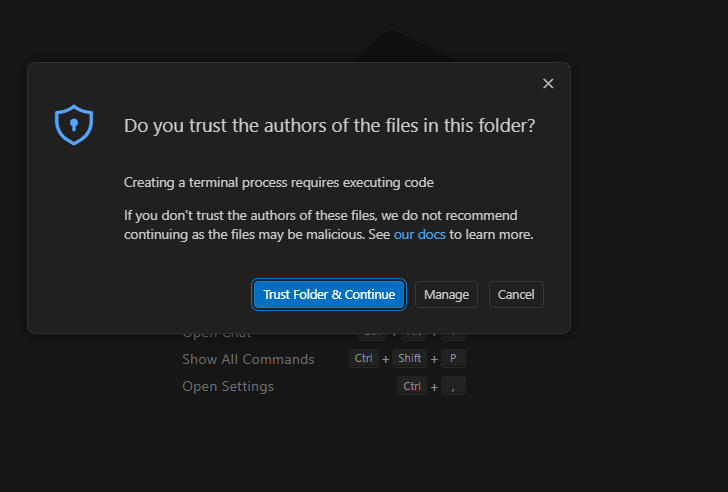
If a message appears saying:
“Do you trust the files in this folder?”
Choose YES.
STEP 3 — Open your project folder
Inside VS Code (connected to the VM):
- Go to File → Open Folder
- Select:
/home/yolanda/
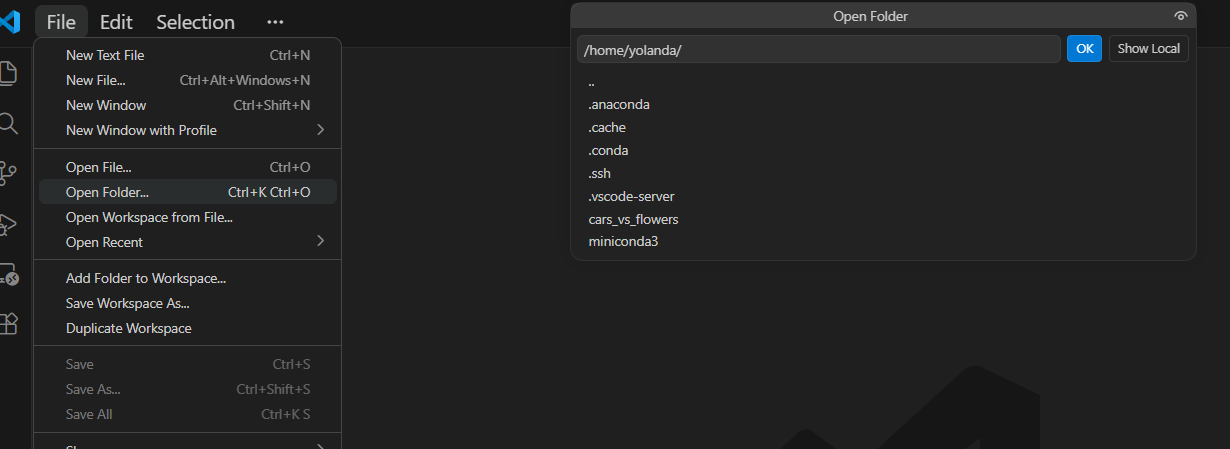
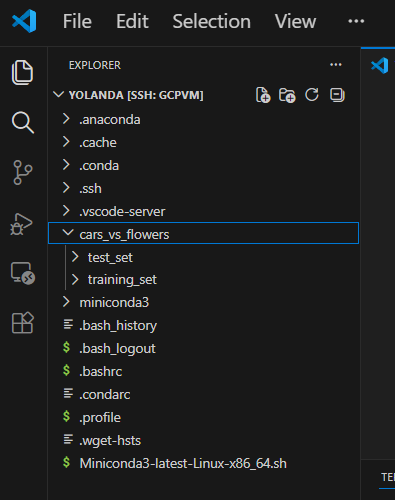
You should now see your folder:
cars_vs_flowers
and any .py scripts you upload.
His is your home directory inside the virtual machine, and inside that folder you will find:
- cars_vs_flowers/ (your dataset)
- your Python scripts (once you upload them)
- miniconda3/
- everything you need for the lab
You are now working directly inside your cloud VM
This means you can:
- edit Python files on the VM
- run training scripts
- upload more files
- debug remotely
- run code inside your conda environment
Everything you do is now happening in the cloud, not on your PC.
Edit Files, Debug, and Train Remotely
Now that your VM’s folder is open inside VS Code, you can work exactly as if the files were on your computer. This is the moment where you can do:
- Edit your Python training script
Load the dataset you uploaded
Run the training through the VS Code terminal
Debug remotely inside the cloud VM
Here is how to proceed.
- Open the VS Code Terminal inside the VM
In VS Code, press:
CTRL + SHIFT + `
or use:
Terminal : New Terminal
IMPORTANT:
This terminal is not your PC —
it is the terminal inside the Google Cloud VM, in the folder:
/home/yolanda/
- Activate your Conda environment
Inside the VS Code terminal:
conda activate mlops
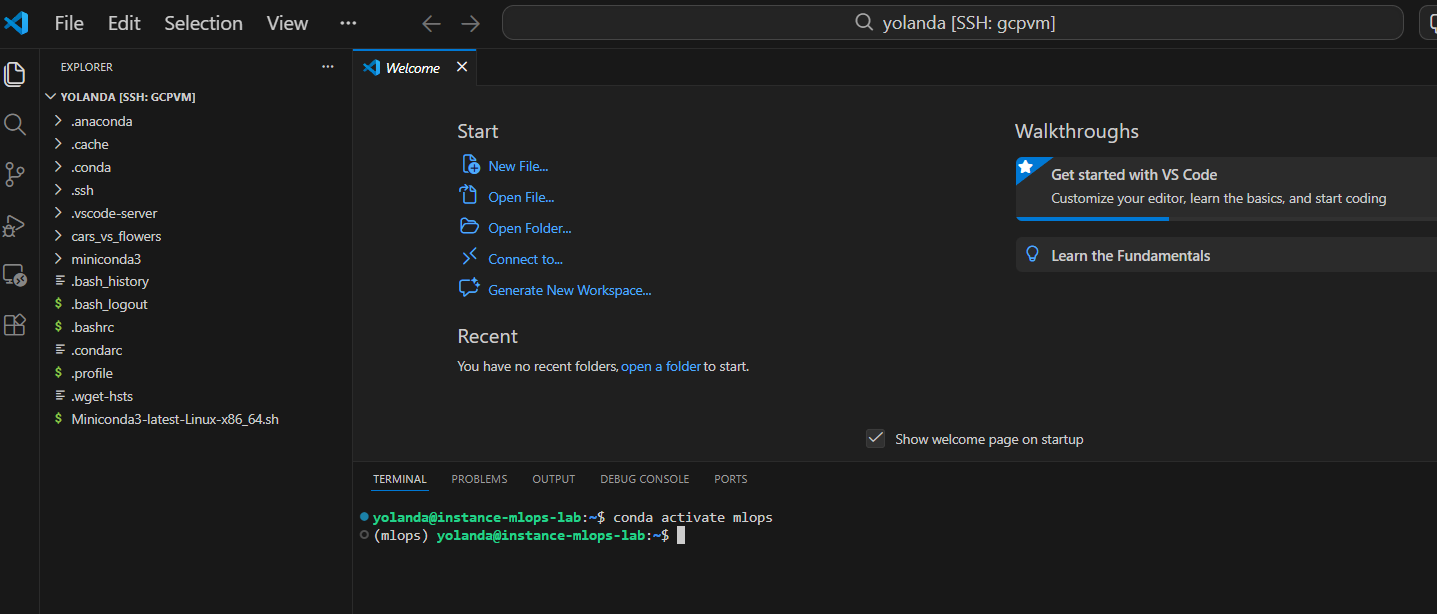
You should see:
(mlops) yolanda@instance-mlops-lab:~$
This means all your installed libraries (torch, numpy, pandas…) are available.
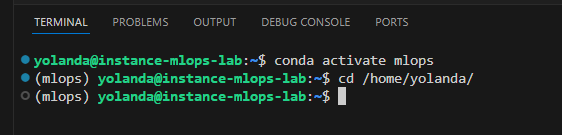
Navigate to your project folder
If your scripts are inside your home directory:
cd /home/yolanda/
Prepare Your Dataset Loader
Now that your dataset folders are in the correct place, you can do:
- Load the dataset using PyTorch’s ImageFolder
- Point it to the correct path inside the VM
- Start training the model
- Confirm dataset path in your training script
In the VM, your dataset path is:
/home/yolanda/cars_vs_flowers/training_set
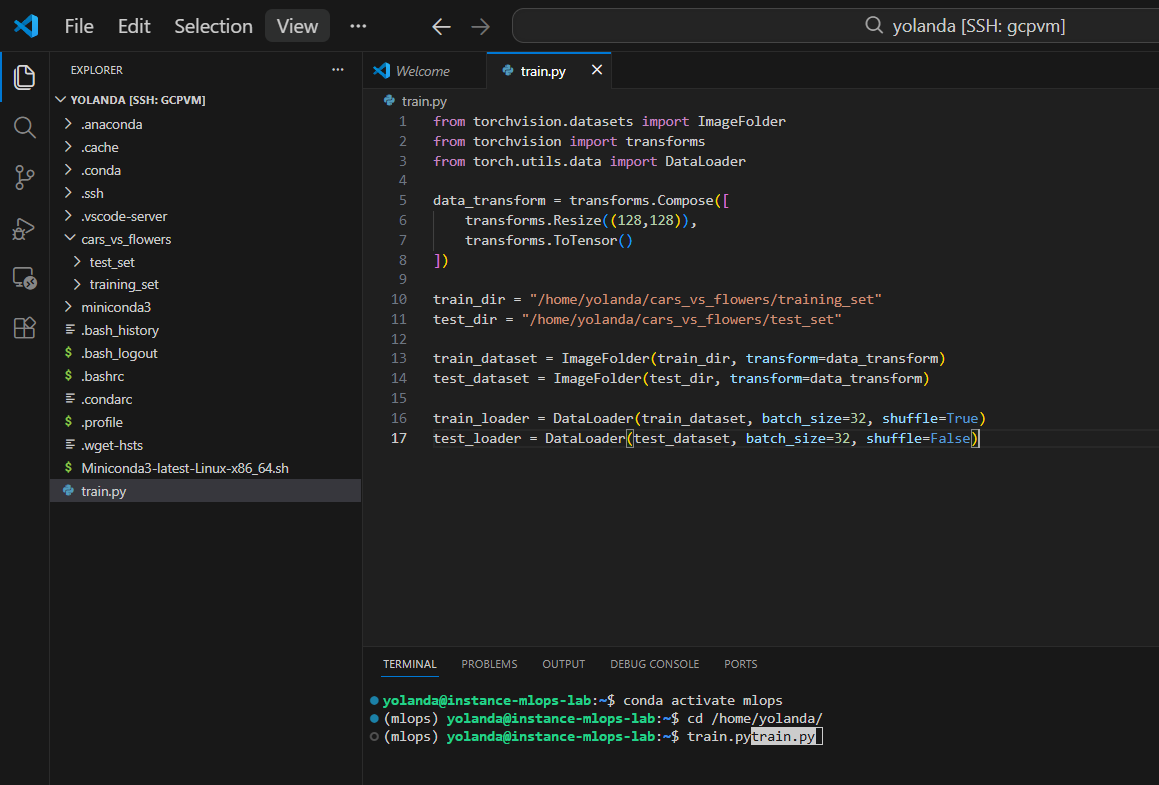
So in your Python code, use:
STEP 1 — Create or open your training script
Inside VS Code (connected to the VM):
- In the Explorer, choose the folder where you want your code (for example /home/yolanda/).
- Right‑click → New File
- Name it:
train.py
This is where you paste the dataset‑loading code.
STEP 2 — Paste the dataset loader inside that file
Here is the code again:
Run it in the VM terminal (inside VS Code)
Open terminal:
CTRL + SHIFT + `
Activate your conda environment:
conda activate mlops
Then run your script:
python train.py
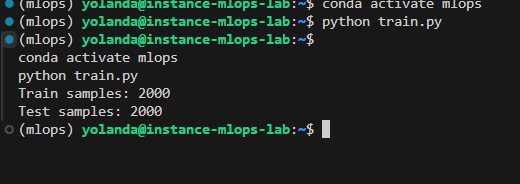
That confirms the dataset loads correctly from the VM.
Now let’s add a simple training pipeline (model + loss + optimizer + loop) so you can complete the end‑to‑end.
Complete training script (train.py)

 @Yolanda Muriel
